Step by step guide on installing your water heater
Step 1: Disconnect the Water Heater from Electricity
Switch the electricity to your water heater at the circuit breaker panel. Use a voltage detector to ensure the water heater wiring is off.
Step 2: Drain the Tank
Allow the water to run cold by opening a hot water faucet. Close off the cold-water supply to the water heater at the top of the unit. Attach a hose to the drain valve of the water heater and drain the tank outside. Open the hot water faucet and the T&P valve to help the water drain faster.
Step 3: Disconnect the Pipes and remove the old water heater
Disconnect the hot and cold-water supply pipes. After you have emptied the tank, remove the old water heater.
Step 4 – Install the New Water Heater
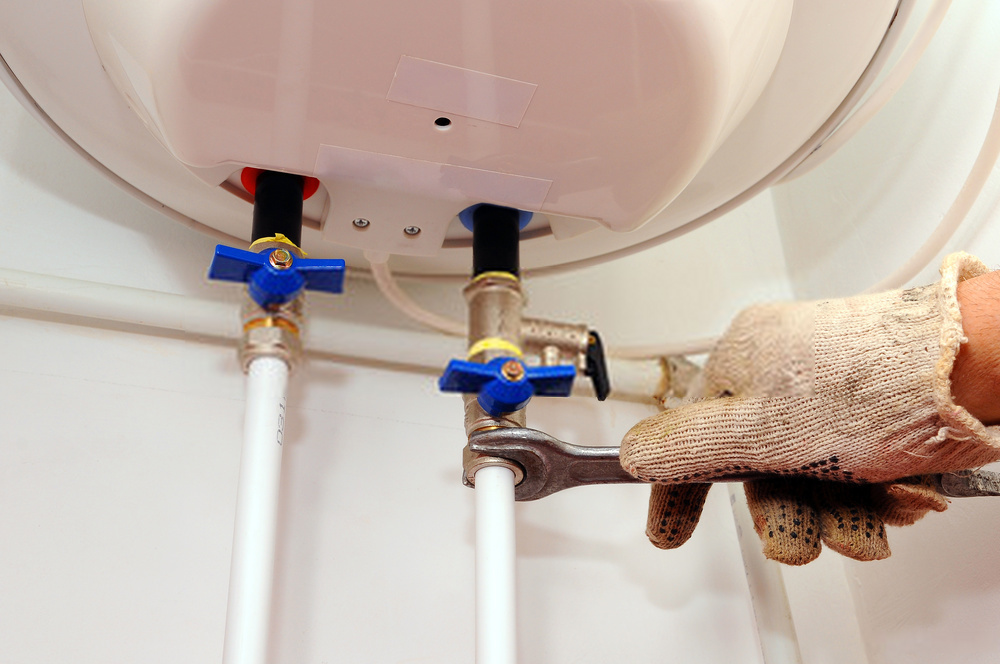
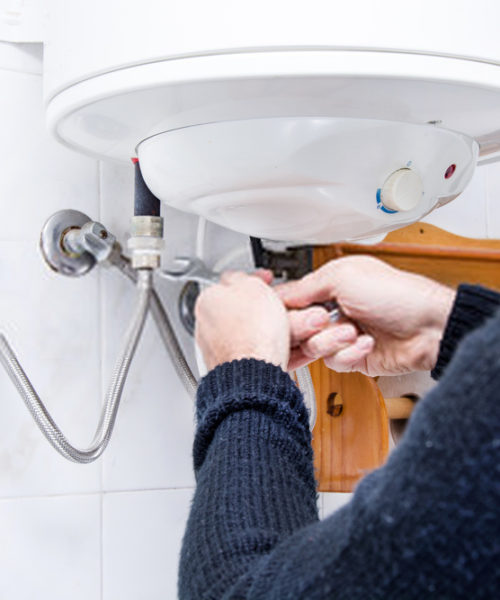
Set the new tank into a drain pan and attach the T&P discharge pipe to the T&P valve. Connect the hoses to the hot & cold heat trap nipples. You can use the dielectric fittings if needed. Use plumber tape to line each end of the connector body threads. Connect one end of the connector body to the flexible hose. Flexible hoses are strongly recommended to make the connections because it is easier and to use and it also serves as serves as a safety feature for earthquakes.
Step 5: Fill the Tank with Water
Disconnect the aerator from the nearest faucet and open the hot water side. Switch on the cold-water supply to the water heater and check if it is leaking. Fill the tank full of water. Water will run from the open faucet when the tank is full. Do not close the faucet until it stops sputtering. Wait for the tank to be full of water before connecting the electrical wiring.


